There's nothing quite like biting into a perfectly cooked shrimp tempura: a delicate crunch, followed by the sweet, succulent taste of the shrimp inside. Yet, for many home cooks, achieving that restaurant-quality, perfectly straight, and incredibly crispy result feels like an elusive culinary dream. You might have faced the common frustrations – shrimp curling into tight little balls, or a batter that's more soggy than ethereal. If you've yearned for that "see-through" crispy shell that lets the shrimp shine, rather than a heavy, breaded fritter, you've come to the right place.
This comprehensive guide will demystify the art of making flawless shrimp tempura, ensuring your crustaceans emerge from the oil long, straight, and enveloped in an impossibly light, crunchy coating. We'll delve into the foundational secrets, from meticulous shrimp preparation to crafting the ideal ice-cold batter, so you can finally master this beloved Japanese delicacy.
The Secret to Straight Shrimp: Masterful Preparation
The most common complaint when frying shrimp, especially for dishes like shrimp tempura, is the dreaded curl. As shrimp cook, their muscle fibers contract, causing them to coil up. This not only affects the aesthetic appeal but can also lead to uneven cooking. The good news? Preventing this is surprisingly simple and entirely within your control. It all comes down to a few strategic cuts and a gentle stretch.
Prepping Your Shrimp for Perfection: A Step-by-Step Guide
- Choose Wisely: Start with the right foundation. Opt for extra-large or jumbo shrimp. Their size provides a more substantial canvas for the tempura and makes the preparation steps easier to execute.
- Shell and Tail: Carefully remove the shell from the body of each shrimp, but always leave the tail intact. Not only does the tail add an elegant presentation, but it also serves as a convenient handle for dipping and frying. Make sure to devein the shrimp during this process.
- The Incision Technique: This is where the magic happens. Place a shrimp belly-side up on your cutting board. Using a sharp knife, make 4 to 5 shallow, vertical incisions along the belly. These cuts should go about one-third to halfway through the thickness of the shrimp, but be careful not to cut all the way through or sever the shrimp in half. These incisions are key to disrupting the muscle fibers that cause curling.
- The Gentle Stretch: Once the incisions are made, flip the shrimp over so it's belly-side down. Using your fingertips, apply gentle but firm pressure along the back of the shrimp, starting from the tail and working your way up to the head. As you press down and slightly stretch, you should feel and hear a subtle "snap." This "snap" indicates that you've effectively stretched out and relaxed the muscle fibers, ensuring the shrimp will remain straight during cooking. Don't worry if the incisions look prominent; the batter will perfectly conceal them.
By following these specific preparation steps, you unlock a fundamental secret to restaurant-quality Unlock Perfect Shrimp Tempura: Straight, Crispy & Fresh, guaranteeing that your shrimp will emerge perfectly elongated and ready for their crispy coating.
Crafting the Ultimate Crispy Tempura Batter
The hallmark of truly great shrimp tempura is its incredibly light, airy, and ultra-crispy batter. It should be thin enough to let the beautiful pink of the shrimp peek through, not a heavy, doughy crust. The secret lies not just in the ingredients, but in their temperature and how they're combined.
The Art of the Thin, Crispy Coating
- Ice-Cold is Key: This is perhaps the most crucial rule for a superior tempura batter. Use **ice-cold sparkling water** (or club soda). The extreme cold, combined with the carbonation, inhibits gluten development when mixed with flour. Less gluten means a lighter, crispier, and more delicate coating that won't become chewy or dense. Plan ahead by placing your water in the freezer for about 15-20 minutes before you start mixing.
- Simple Ingredients, Big Impact: A classic tempura batter typically consists of cake flour (or a combination of all-purpose flour and cornstarch for added crispness), sometimes a single egg yolk, and, of course, the ice-cold sparkling water. Avoid using breadcrumbs; traditional tempura relies on a thin liquid batter, not a crumb coating, to achieve its signature texture.
- Minimal Mixing: Resist the urge to whisk your batter until perfectly smooth. Lumps are not just acceptable; they're desirable! Overmixing develops gluten, which leads to a tough, heavy batter. Instead, gently combine the ingredients with chopsticks or a fork until just barely incorporated. A few streaks of dry flour are perfectly fine and will contribute to the batter's delicate texture.
- Pre-Dredging for Adhesion: Before dipping your prepped shrimp into the batter, give them a very light dusting of flour. This thin layer helps the cold batter adhere evenly to the shrimp, ensuring a consistent, crunchy coating without any bare spots.
Remember, a cold batter is a crispy batter. Maintain its low temperature by placing your batter bowl over a larger bowl of ice water if you're frying in batches. For a deeper dive into this technique, check out Chef John's Easy Crispy Shrimp Tempura: Thin Batter Secrets.
Frying for Perfection: Technique and Timing
With your shrimp prepped and your batter chilling, the final stage is frying. This step requires attention to detail, but mastering it guarantees that golden, airy crispness that defines exceptional shrimp tempura.
Achieving the Golden Crunch
- Choose the Right Oil: A neutral-flavored oil with a high smoke point is ideal. Vegetable oil, canola oil, or grapeseed oil work wonderfully. You'll need enough oil to deep-fry, so ensure it's at least 2-3 inches deep in your pot or deep fryer.
- Optimal Oil Temperature: Consistency is key. Heat your oil to between 350-375°F (175-190°C). An oil thermometer is highly recommended. If the oil isn't hot enough, the tempura will absorb too much oil and become greasy. If it's too hot, the batter will brown too quickly, leaving the inside undercooked.
- The Dipping and Frying Dance: Holding a straight shrimp by its tail, dip it completely into the cold tempura batter, allowing any excess to drip off. Gently lower the battered shrimp into the hot oil, away from you, taking care not to overcrowd the pot. Frying too many shrimp at once will drastically lower the oil temperature, leading to soggy results. Fry in small batches of 3-4 shrimp at a time.
- Frying Technique: As the shrimp fry, you'll see the batter puff up and turn golden. Cook for about 2-3 minutes per side, or until the batter is a beautiful light golden brown and perfectly crispy. The shrimp inside will cook quickly due to its size and the high heat.
- Draining and Serving: Once golden and crisp, carefully remove the tempura with a spider or slotted spoon. Place them on a wire rack set over paper towels to drain any excess oil. This is crucial for maintaining crispness.
Beyond the Basics: Tips for Tempura Mastery
Making outstanding shrimp tempura goes beyond just following a recipe; it's about understanding the nuances and appreciating the experience.
- Serve Immediately: This cannot be stressed enough. Tempura, especially the delicate, thin-battered kind, is meant to be eaten almost as soon as it comes out of the oil. Its crispness is fleeting. Gather your guests around the fryer, or serve them in small, hot batches. Letting them sit and get cold is, as some would say, "a crime against nature."
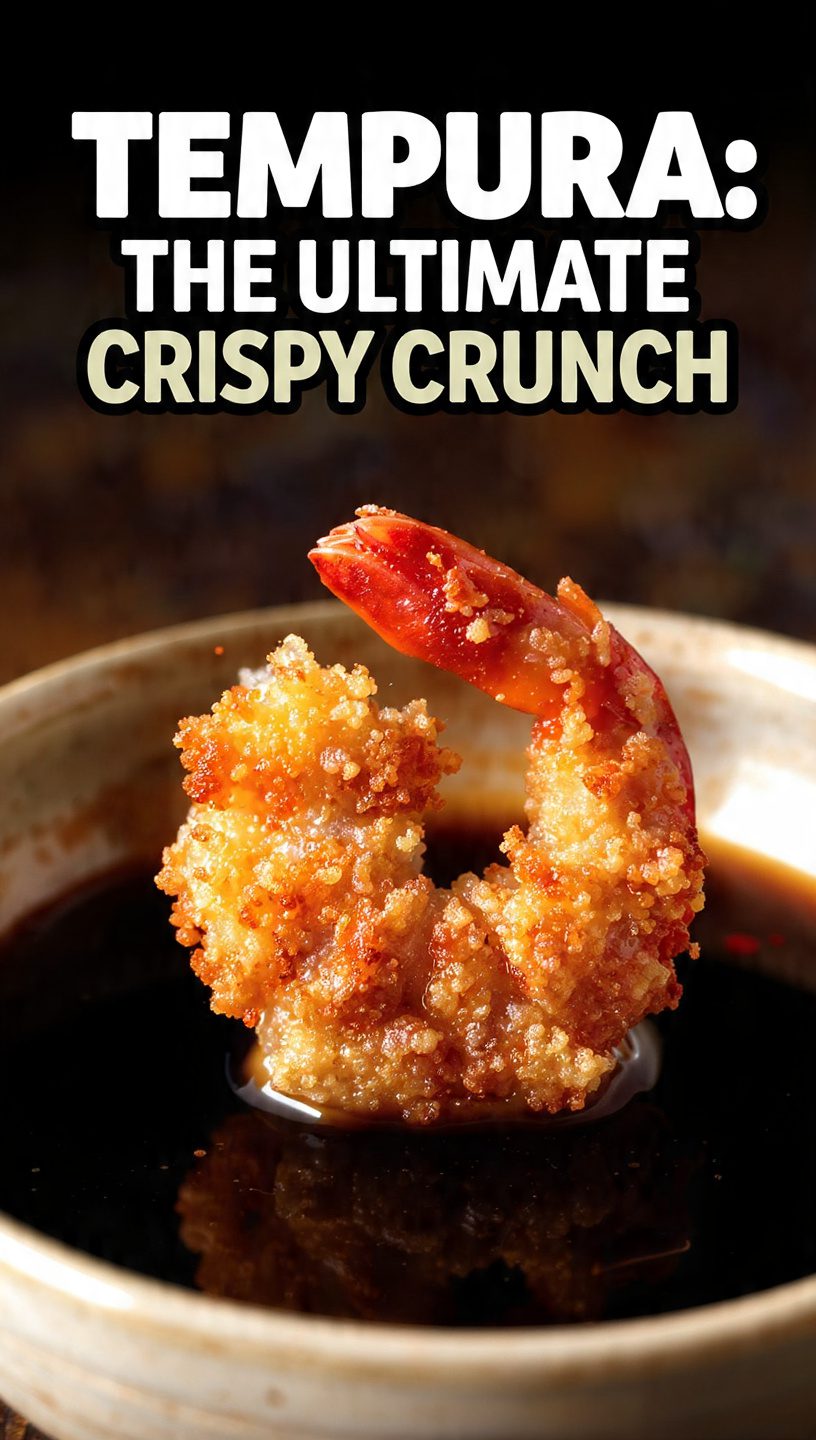
- Dipping Sauces: While delicious on its own, tempura is often accompanied by a light dipping sauce called *tentsuyu*. This typically consists of dashi, mirin, and soy sauce, often served with grated daikon radish and ginger.
- Expand Your Horizons: The beauty of this tempura technique is its versatility. While shrimp tempura is a star, this same thin, crispy batter and frying method can be applied to a myriad of other ingredients. Think thinly sliced vegetables like sweet potato, pumpkin, eggplant, green beans, or even delicate fish fillets.
- A Dash of History: Did you know tempura isn't originally a Japanese invention? This beloved culinary technique was actually introduced to Japan by Portuguese missionaries in the 16th century, evolving over centuries into the delicate art form we know today. A fun fact to share with your friends as you enjoy your crispy creations!
Conclusion
No longer will you have to settle for curled shrimp or soggy batter. By understanding and implementing these straightforward techniques – from the essential shrimp preparation that guarantees straightness to the creation of an ultra-cold, barely mixed batter and precise frying – you possess all the knowledge needed to create magnificent shrimp tempura right in your own kitchen. Embrace the simplicity, respect the process, and get ready to impress yourself and your guests with perfectly straight, incredibly light, and irresistibly crispy bites. Happy frying!
